Is your Android smartphone acting like a moody teenager? One minute it’s at 20%, and the next, it’s shutting down without warning? In 2026, despite the massive leaps in AI-driven power management and solid-state battery integration, software-hardware desync is still a common headache for many users.
Learning how to calibrate battery android step by step is the single most effective way to ensure your phone’s software meter accurately reflects its hardware capacity. This guide will walk you through the most up-to-date methods to restore your device’s stamina and fix those annoying percentage jumps.
What is Android Battery Calibration (and What It Isn’t)?
Before we dive into the steps, let’s clear up a major misconception. Battery calibration does not magically increase your battery’s physical capacity. A battery is a chemical component that degrades over time; calibration cannot reverse physical wear.
Instead, calibration resets the Android OS “fuel gauge.” Your phone has a sensor that tracks how much energy is left. Over time, due to fast charging, frequent partial charges, and software updates, the software gets confused. Calibration forces the OS to relearn the “Full” and “Empty” points of the cell.
Signs You Need to Calibrate Your Battery in 2026
If you notice these symptoms, it’s time to perform a manual reset:
- The Sudden Death: Your phone shuts off at 5%, 10%, or even 15%.
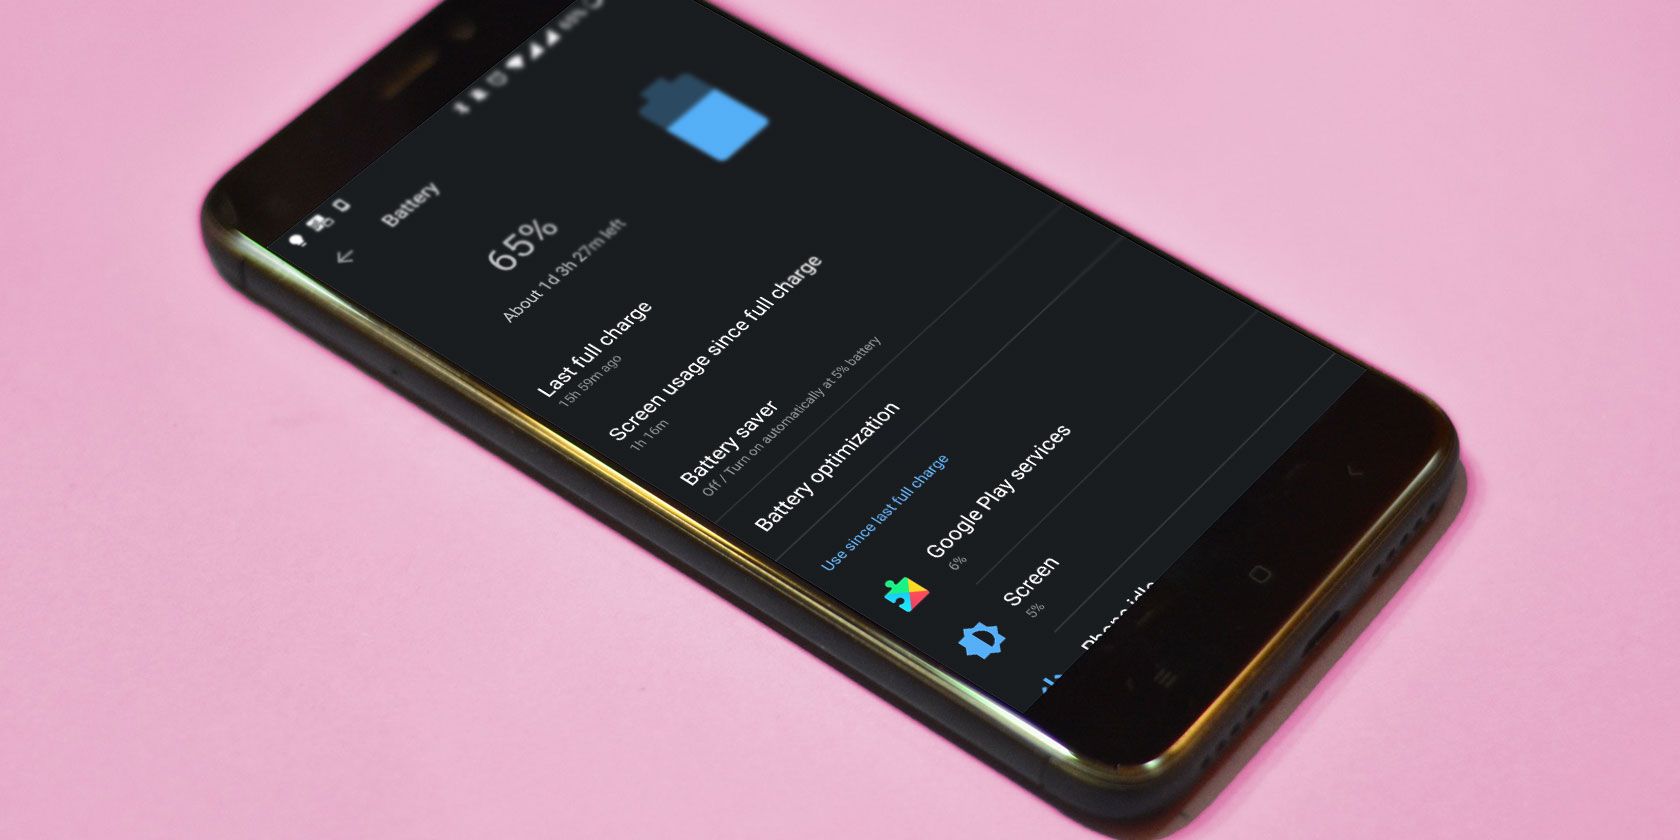
- The Stuck Percentage: Your battery stays at 100% for hours and then drops to 60% in minutes.
- The Rapid Climb: You plug in your phone, and it jumps from 10% to 50% in just a few moments.
- Post-Update Glitches: You recently installed a major Android 16 or 17 update, and the battery reporting has become erratic.
How to Calibrate Battery Android Step by Step: The Manual Method
This is the most reliable method for any Android device, whether it’s a Samsung Galaxy, Google Pixel, or OnePlus. No root access is required.
Step 1: Drain the Battery Completely
Use your phone normally until it shuts itself down due to low power. You can speed this up by playing a high-resolution video or running a heavy gaming app.
Step 2: Attempt to Power On
Once it’s off, try to turn it back on. You want the battery to be so empty that it can’t even complete the boot process. If it turns on, let it shut down again.
Step 3: Charge it to 100% (While Off)
Plug your phone into its original charger. Do not turn the phone on. Let it charge until the on-screen indicator (or LED) shows it has reached 100% capacity.
Step 4: The “Topping Off” Phase
Unplug the charger and turn the phone on. Once the OS has fully loaded, check the battery percentage. If it says 100%, you are in good shape. If it says 98% or 99%, plug the charger back in while the phone is on and let it reach 100%.
Step 5: Final Discharge and Recharge
Unplug the phone and use it until it hits 0% and shuts down one more time. Finally, charge it back to 100% without interruption. Your Android battery meter is now synced with the hardware.
Advanced Calibration: The Root Method (For Power Users)
If you have a rooted device, you can manually clear the `batterystats.bin` file. While many experts argue the OS clears this file automatically, long-time Android enthusiasts in 2026 still swear by this for custom ROM stability.
- Download a Battery Calibration app from the Play Store (ensure it’s compatible with the latest Android version).
- Charge your phone to 100%.
- Open the app and grant Root access.
- Tap the “Battery Calibration” button to delete the system’s battery stats file.
- Restart your device and follow the manual discharge cycle mentioned above.
Modern Features: Using Android 2026 AI Diagnostics
By 2026, Android has integrated advanced AI Battery Health suites. Before doing a manual calibration, check your system settings:
- Go to Settings > Battery > Battery Health & Charging.
- Look for “Recalibrate Battery Meter”—a feature now native to many flagship devices.
- Check your Cycle Count. If your phone has exceeded 1,000 cycles, calibration may only provide a temporary fix, as the hardware itself is likely degraded.

Pro Tips to Maintain Battery Health Post-Calibration
Once you’ve successfully calibrated your device, you’ll want to keep it that way. In 2026, Lithium-ion maintenance has evolved. Follow these rules:
- Avoid the 0% Trap: Do not let your phone die frequently. While calibration requires a full discharge, doing this daily will damage the battery. Aim to keep your charge between 20% and 80%.
- Temperature Management: Heat is the silent killer of batteries. Avoid heavy gaming while charging, especially if you are using ultra-fast 120W+ chargers.
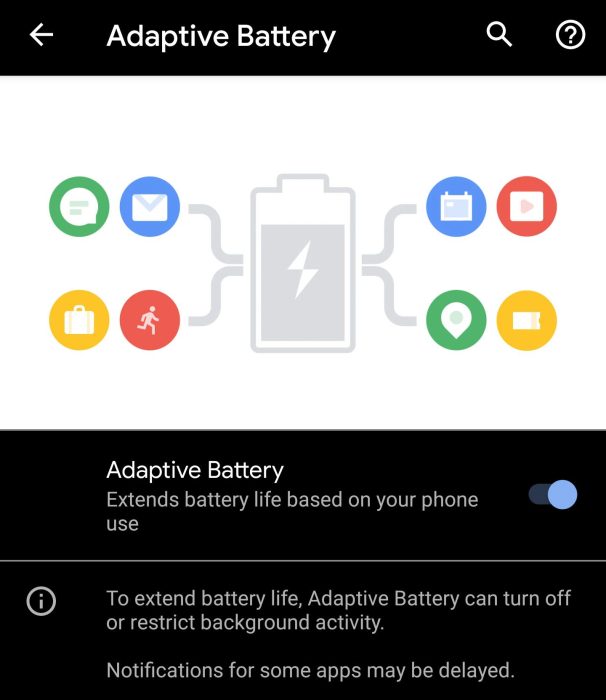
- Use Adaptive Charging: Ensure “Adaptive Charging” is toggled on in your settings. This allows the AI to learn your sleep patterns and finish the last 20% of charging right before you wake up.
- Avoid “Fake” Calibration Apps: Beware of apps that claim to “repair” battery cells. These are often filled with adware and can’t change the laws of physics.
When Calibration Isn’t Enough: Identifying Hardware Failure
If you have followed the how to calibrate battery android step by step guide and your phone still shuts down unexpectedly, you are likely facing a hardware issue rather than a software sync problem.
Watch out for:
- Battery Swelling: If your screen is lifting or the back panel is bulging, stop using the phone immediately. This is a fire hazard.
- Extreme Heat: If the phone gets hot while idle, an internal cell may be short-circuiting.
- Rapid Drain in Standby: If your phone loses 20% overnight while in “Deep Sleep” mode, the battery chemistry is likely exhausted.
Conclusion
Calibrating your Android battery is a simple, effective maintenance task that can save you from the frustration of inaccurate power readings. By following the manual “full cycle” method or utilizing the 2026 AI diagnostic tools built into your device, you can extend the usable life of your smartphone and ensure you aren’t left stranded with a dead device.
Remember, a calibrated battery provides peace of mind, knowing that when your phone says 10%, you actually have 10% remaining. Perform this process once every six months or after any major software update to keep your Android running at peak efficiency.