You’re in the middle of an important task, you tap a link, and suddenly—the dreaded “DNS Address Could Not Be Found” error pops up. In 2026, our digital lives depend on seamless connectivity, and a DNS lookup failure can feel like a total roadblock.
Don’t panic! This guide is designed to help you navigate the complexities of your Android network settings and get you back online in minutes. Whether you are dealing with a temporary glitch or a deeper configuration issue, we have the solutions to resolve your Android DNS errors once and for all.
Understanding the DNS Abyss: Why Does It Happen?
Think of the Domain Name System (DNS) as the phonebook of the internet. When you type a URL, your device asks a DNS server for the corresponding IP address to connect you to the website. If that “phonebook” fails to respond or is misconfigured, your browser throws a DNS error.
Common culprits for this issue in 2026 include:
- Outdated DNS cache files.
- Unstable Wi-Fi router configurations.
- Incompatible or slow ISP-provided DNS servers.
- Corrupted network settings on your Android device.
Step 1: The Quick Fixes That Work Every Time
Before diving into technical configurations, start with the basics. These simple steps often resolve connectivity issues without requiring advanced knowledge.
- Toggle Airplane Mode: This forces your phone to disconnect and reconnect to all network services, effectively “refreshing” your handshake with the ISP.
- Restart Your Router: Many DNS errors originate from the gateway itself. Power cycling your router clears its temporary cache and re-establishes a fresh connection to your service provider.
- Switch Between Wi-Fi and Mobile Data: If the error only occurs on Wi-Fi, the issue is likely your local network. If it persists on mobile data, the problem may lie with your device’s internal settings.
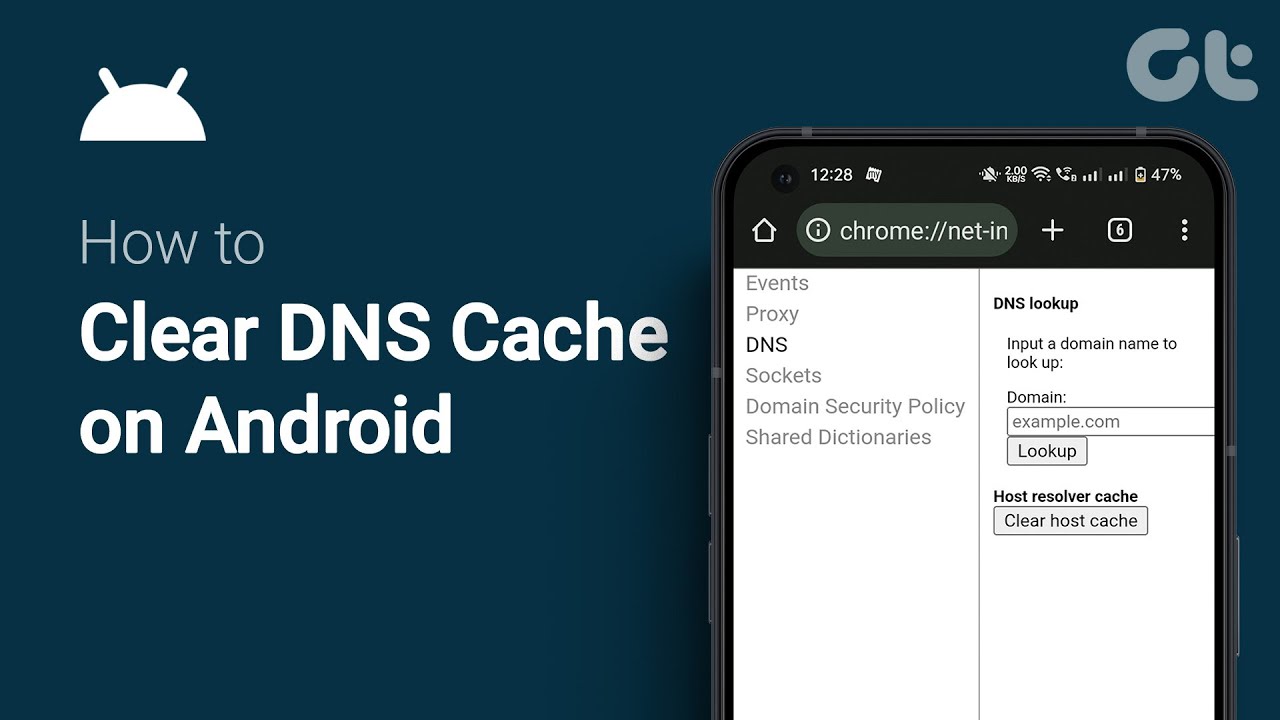
Step 2: Clear Your DNS Cache on Android
Just like your browser, your Android system stores a cache of DNS lookups to speed up your browsing. Sometimes, these records become outdated or corrupted, leading to a DNS lookup failed error.
- Browser Cache: Go to your browser (Chrome or Edge), tap the three dots, select Settings > Privacy and Security > Clear Browsing Data, and ensure “Cached images and files” is checked.
- System DNS Cache: While Android doesn’t have a single “Clear DNS” button, toggling your Wi-Fi off and on, or performing a Network Settings Reset, will flush these temporary files.

Step 3: Configure Private DNS for a Faster, Safer Experience
By default, your Android phone uses the DNS server provided by your ISP, which can be slow or unreliable. Switching to a Private DNS provider like Google (8.8.8.8) or Cloudflare (1.1.1.1) is one of the most effective ways to fix DNS errors on Android.
Follow these steps to manually set your DNS:
- Open your phone Settings.
- Navigate to Network & Internet or Connections.
- Tap on Private DNS.
- Select Private DNS provider hostname and enter a trusted address (e.g., `dns.google` or `one.one.one.one.cloudflare-dns.com`).
- Save and restart your browser.

Step 4: Reset Network Settings
If you’ve tried everything and the error persists, there may be a deeper conflict in your system’s network configuration. Resetting these settings will return your Wi-Fi, Bluetooth, and cellular configurations to their factory defaults.
Note: This will delete your saved Wi-Fi passwords, so ensure you have them backed up.
- Go to Settings > System > Reset Options.
- Tap Reset Wi-Fi, mobile & Bluetooth.
- Confirm the action and restart your phone.
Step 5: Check Third-Party App Interference
In 2026, many users employ VPNs or Ad-blockers to enhance privacy. Ironically, these apps often intercept DNS traffic. If your VPN is misconfigured, it may block your connection entirely.
Try disabling any active VPN or security apps temporarily. If the internet starts working immediately, you know the culprit is your VPN’s DNS settings, and you may need to update the app or change its protocol.
Conclusion: Take Control of Your Connection
Fixing a DNS error on an Android phone doesn’t have to be a nightmare. By systematically moving from simple reboots to adjusting your Private DNS settings, you can resolve almost any connectivity hurdle.
Remember, the internet is only as good as the path you take to get there. By using reliable DNS providers and keeping your network settings optimized, you ensure a faster, more secure, and error-free browsing experience for the rest of 2026. Stay connected!