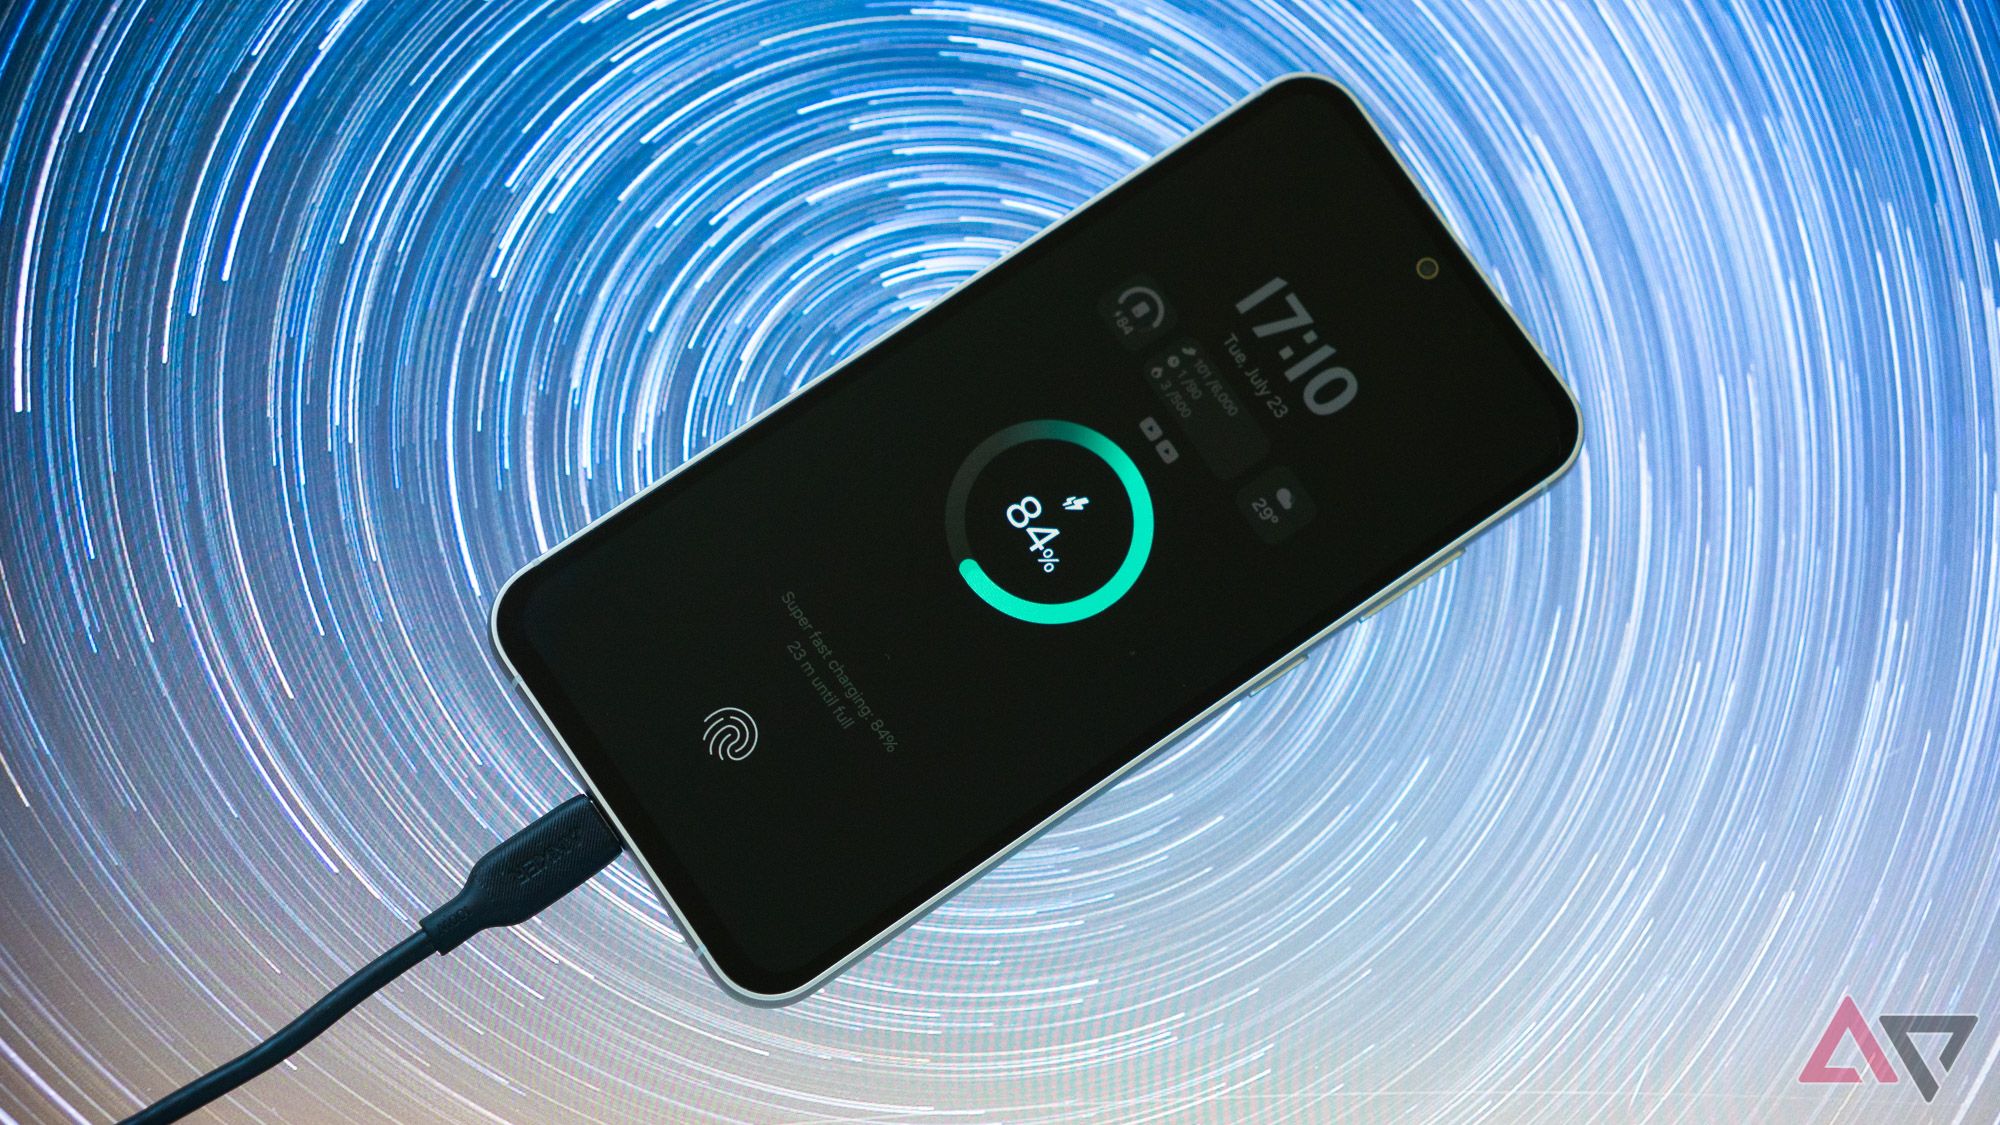
Is your Android device refusing to cooperate when you plug it in? There is nothing more frustrating than seeing your battery percentage drop while your phone is tethered to a wall charger. As we move further into 2026, our reliance on mobile devices for work, navigation, and communication has never been higher, making charging issues a major productivity killer.
Whether you are rocking the latest flagship or a reliable mid-range device, charging glitches are often caused by simple hardware or software hiccups. Before you rush to a repair shop or shell out money for a new phone, follow this comprehensive guide to troubleshoot and resolve your charging issues at home.
1. Perform a Forced Restart
Sometimes the issue isn’t the battery or the port, but a minor software glitch preventing the phone from recognizing the charging input. A simple reboot can clear background processes that might be interfering with the power management system.
To perform a restart, press and hold the power button on the side of your device until the Android power menu appears. Tap “Restart” and wait for the phone to cycle off and back on. If your phone is completely unresponsive, hold the power button and the volume down button simultaneously for 10–15 seconds to perform a forced reboot.
2. Inspect and Clean Your Charging Port
Your phone’s USB-C or micro-USB port is a magnet for dust, lint, and pocket debris. Over time, this buildup prevents the charging cable from making a secure connection with the pins inside the port.
Use a flashlight to look inside the port. If you see debris, use a non-conductive tool like a wooden toothpick or a soft plastic pick to gently dislodge the lint. Avoid using metal needles, as these can easily short out the pins and cause permanent damage to your charging port.
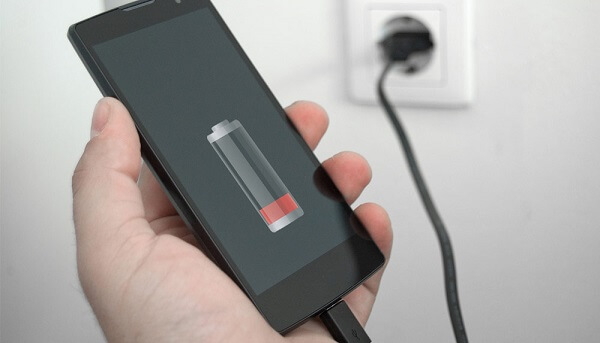
<img alt="10 Fixes for Phone Not Charging on Android" src="https://www.lifewire.com/thmb/UX8cnDiAl2EthBaev53WcEYO644=/1500×0/filters:noupscale(” style=”max-width:100%; height:auto; border-radius:8px; margin: 1rem 0;” />:maxbytes(150000):strip_icc()/battery-charging-device-586340-f9da0c6fe3484f95975220fb35b50702.jpg)
3. Test Your Cable and Power Adapter
We often overlook the most obvious culprit: the charging cable. Cables undergo significant wear and tear, and internal wires can snap even if the exterior looks pristine.
- Try a different cable: Borrow a cable from a friend or use a spare to see if the charging icon appears.
- Swap the wall adapter: The power brick itself can fail. Try plugging your cable into a different USB port on a computer or a different wall charger to isolate the issue.
- Check for damage: Look for fraying, bent pins, or exposed wires near the connector ends.
4. Check for Software Updates
Manufacturers frequently release firmware updates in 2026 to address power management bugs and improve charging efficiency. If your phone is running an outdated version of Android, it might have trouble communicating with newer high-speed chargers.
Navigate to Settings > System > Software Update to check for any pending installations. Keeping your OS current ensures that your device’s battery controller is functioning with the latest optimizations.
5. Is Your Battery Calibrated Correctly?
Sometimes, your phone is charging, but the software is misreporting the battery percentage. If your phone jumps from 10% to 50% instantly, you may have a calibration issue.
To fix this, let your phone drain until it shuts off completely. Then, charge it to 100% without turning it on. This helps the operating system “re-learn” the actual capacity of your battery.
6. Check for Overheating
Modern Android devices have safety protocols to prevent charging if the battery temperature is too high. If you have been playing graphic-intensive games or filming in 4K, your phone might be thermally throttled.
If your device feels hot to the touch, unplug the charger, remove any protective case, and let the phone sit in a cool, shaded area for 15–20 minutes. Once the temperature drops, try plugging it back in.
7. Try Safe Mode
Third-party apps can sometimes run rogue processes that drain power faster than the charger can replenish it, or they may interfere with the charging handshake. Safe Mode disables all third-party applications.
To enter Safe Mode, hold the power button, then long-press the “Power Off” icon on your screen. If your phone charges normally in Safe Mode, you know a specific app is the problem. You will need to identify and uninstall recently downloaded apps to find the culprit.
8. Consider Hardware Damage or Moisture
If your phone has been exposed to water or dropped recently, there could be internal hardware damage. Many modern Android phones display a “Moisture Detected” warning in the notification shade.
If you see this warning, do not force a charge. Place the phone in a dry area with good airflow for several hours. If the phone was dropped, the charging port itself may be physically loose or disconnected from the motherboard, which will require professional repair.
9. Use a Different Power Source
It sounds simple, but ensure your power source is actually active. If you are using a wall outlet, check if it is controlled by a light switch. If you are using a laptop USB port, note that these often provide significantly less voltage than a dedicated wall charger, which might make it appear as though the phone isn’t charging at all.
10. Contact Professional Support
If you have tried all the steps above and your device still won’t hold a charge, it is time to consult the experts. Your battery might have reached the end of its lithium-ion lifespan, or the charging IC (Integrated Circuit) on your motherboard may have failed. Visit your local service center to get a professional diagnostic test.
Conclusion
Dealing with an Android phone that won’t charge is a common headache, but usually, the solution is found in a clean port or a fresh cable. By systematically checking your hardware and software, you can often save yourself the cost of a new device. Keep these tips handy for 2026, and you will be back to full battery in no time!